Wall Sticker – How To Apply It?
Are you thinking about giving your room a makeover? Perhaps you intend to decorate your children's room? Or do you simply want to express your feelings, personalities, or viewpoints through images?
Regardless of the case, wall sticker can always meet your need and demand. This type of decal has gained huge popularity due to its accessibility, affordable, and varied design.
If you are looking for useful information about wall stickers, this blog is for you! Read on!
What are wall stickers?

Wall stickers, often called wall decals, are self-adhesive vinyl stickers. You can utilize them on walls in rooms, doors, windows, or even other surfaces such as fridges, laptops, tablets, etc.
In recent years, they have grown in popularity as a quick and affordable method to bring new features or appearances to any area. They have various and flexible designs in general. For example, some of them are simple peel-then-stick wallpaper, while others have more elaborate designs.
As they combine images and imagination, there are limitless patterns and styles to select from when it comes to wall decals - they have various shapes, sizes, designs, images, etc. Most understandably, they can be divided into two groups: purpose base and material base.
Different Types of Wall Stickers
In this section, we will introduce you to some wall stickers categorized by the purpose of use.
On Wall

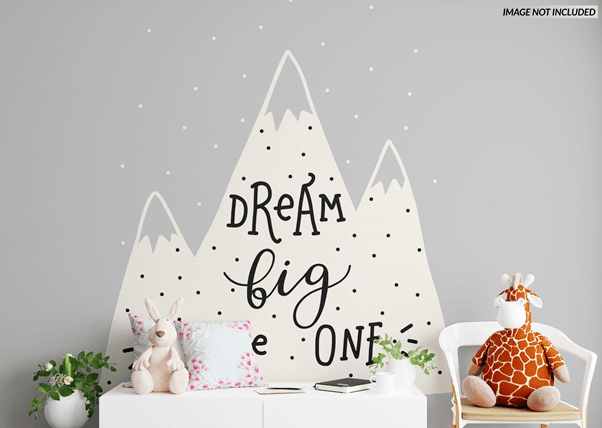
These are the ones made for applying on walls in rooms, which are available in a variety of sizes. They're usually huge enough to cover a full wall. However, there are also small sizes to serve your personal aims.
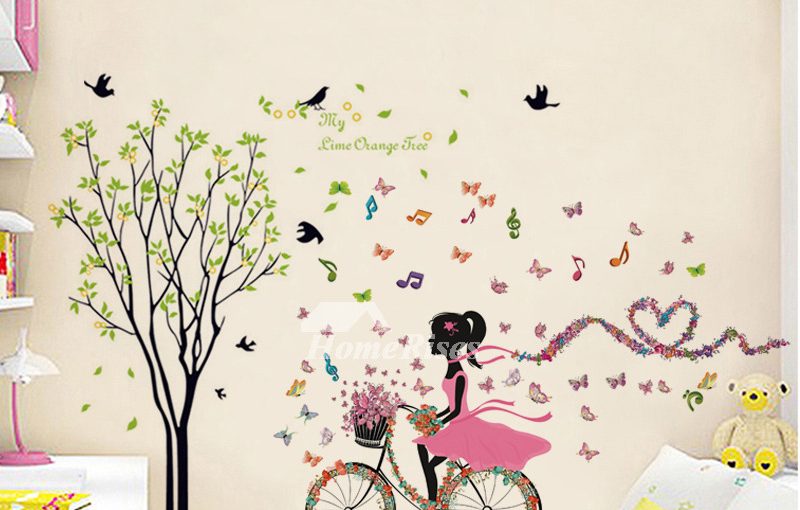
Some of the popular designs and forms are animals, figures, and landscapes. They are normally suitable for decorating children's bedrooms, playrooms, and any other areas in the house because they can be used as educational resources for children’s learning. For example, some designs illustrate the solar system, basic math knowledge, or the alphabet.
Besides, they may be utilized for decorating your child's room with their favorite cartoon characters.
On Door

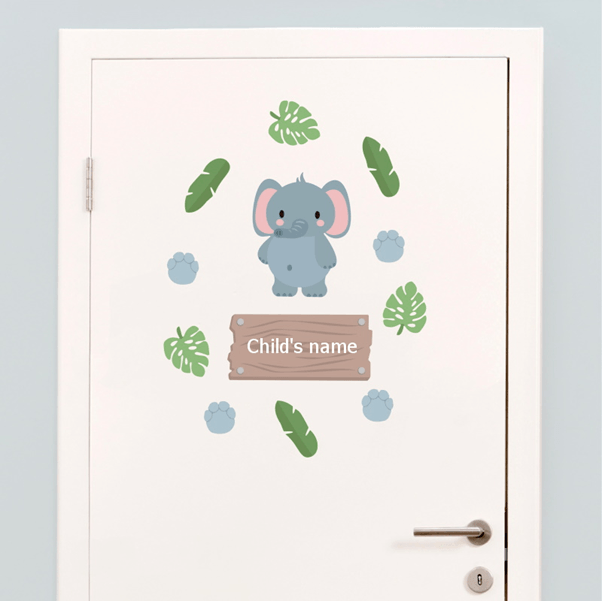
The Door sticker is designed to stick on either the interior or exterior side. For example, the exterior front door decals are usually designed with a waterproof coat to resist weather damage. On the other hand, the inside door stickers may be easier to remove or change whenever the users want to.
On Ceiling
As its name suggests, these are intended to be placed on ceilings to give the spaces a distinctive and enjoyable appearance. The ceiling stickers are frequently constructed from the shine-in-the-dark compound and material, allowing them to be seen even in low light.
They're ideal for bringing a special touch to your children’s rooms. We can also use them for parties or events decor.
On Window
Window stickers are those applied on the inside of windows. Materials are mostly semi-transparent or translucent, allowing light from the outside to pass through gently.
They help limit the heavy sunlight and bring a cozy and light atmosphere to the rooms. You can also utilize this type of decal as a privacy screen for your rooms, thanks to its great covering. Besides, there are also various designs, shapes, and sizes of decals that you can opt for.
How To Apply Wall Stickers?
In fact, the wall sticker application is not as easy as you expect at first. This task requires patience and experience to achieve the most satisfactory result.
There are some requirements about the surface conditions, basic tools, and brief-but-necessary steps that you must keep in mind. Continue reading for the info!
Requirements
In general, the sticker surface needs to meet the following conditions:
- Clean: you should remove dust, dirt, stains, etc. The cleaner the surface is, the easier it is to stick, leading to a better result. So, let's remove the dust and dirt as much as possible.
- Smooth: this is an indispensable condition. The surface needs to be smooth and flat for the glue to adhere. For well-primed and coated surfaces, the results are bound to be much better.
- Dry: surfaces with water or moisture will reduce the stickiness of the glue. Therefore, if your house has just been painted, you should let the paint on the wall dry completely before applying it.
Tools
The list below includes some basic tools to get the work done.
- Scissors or a knife
- Step ladder
- A squeegee or similar things to smoothen (e.g., a driver’s license, credit cards, etc.)
Steps
- Clean the surfaces before diving into the process.
- Get the stickers sorted. Simply lay them out on the intended surfaces to make sure they will fit each other.
- The need-to-know thing is that the stickers include three layers: the transparent layer on top, the vinyl sticker in the center, and the backing paper at the bottom. Now, position the sticker on the surface with the transparent layer facing up.
- Apply masking tape to all corners to stick them on the wall.
- Create an anchor line by placing a piece of tape across the decal (based on the shape, you can cross vertically or horizontally).
- After the decal is set, gently remove the attached tape from the two top corners or left side corners.
- Begin peeling the application layer (transparent and vinyl stickers) away from the backing one with care, making sure the decal adheres to the layer. You need to peel until you reach the previous anchor line.
- Then, cut out that backing layer.
- It's time to stick the application layer to the surface. You should use your driver's license or squeegee to eliminate all bubbles in this step. Start from the center and work outwards to all borders and corners.
- Remove the anchor line tape, and repeat steps number 7 - 9 for the rest.
- Use cards to remove bubbles and make the glue stick firmly.
- Gently peel the transparent paper and ensure the vinyl stickers are stuck on the surface.
Conclusion
Apparently, a wall sticker is surely the best solution for walls, windows, and doors decor. This type of decals come in a variety of designs, images, and materials to meet any demand. In addition, it is also economical and easy to access and use.
All you need to keep in mind is the consideration of your purposes, tastes, and conditions (budget, applied-surface conditions, etc.), and follow the above step-by-step guidance.
Giving a new look to your rooms and spaces yourself is definitely a worth-trying experience. Hopefully, you can make your space more gorgeous after reading this post!


